


The backgrounds in older seasons of the animated series Arthur featured real water colour images. I recently had the opportunity to work on the series. It was my job to replicate that painted-feel digitally for season 18 of the show.
To start every artist on the background team was given a style guide to work from. This included how to set up files for the animators, which digital brushes to use, notes on how to keep the image looking light (not to muddy or streaky), picking a light source and adding the tell tale conté crayon lines to the finished painting to really give it that “Arthur” feel.
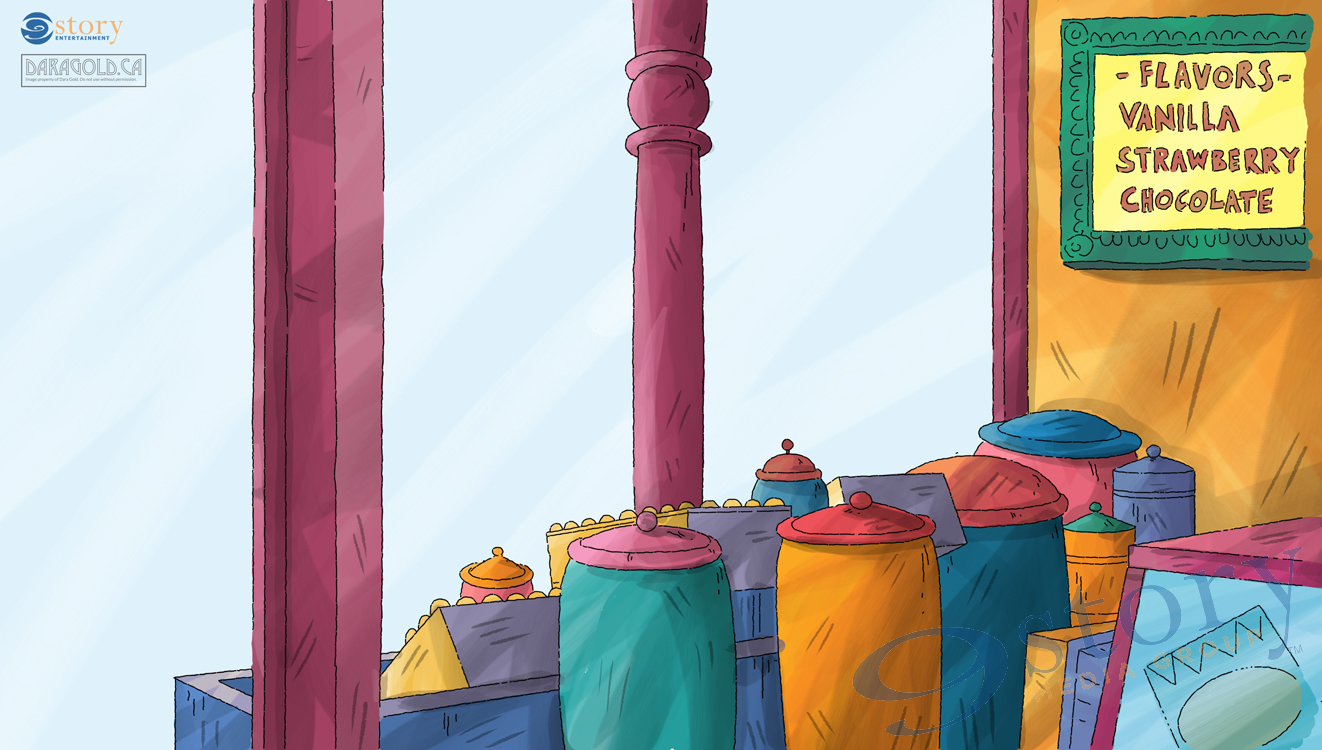
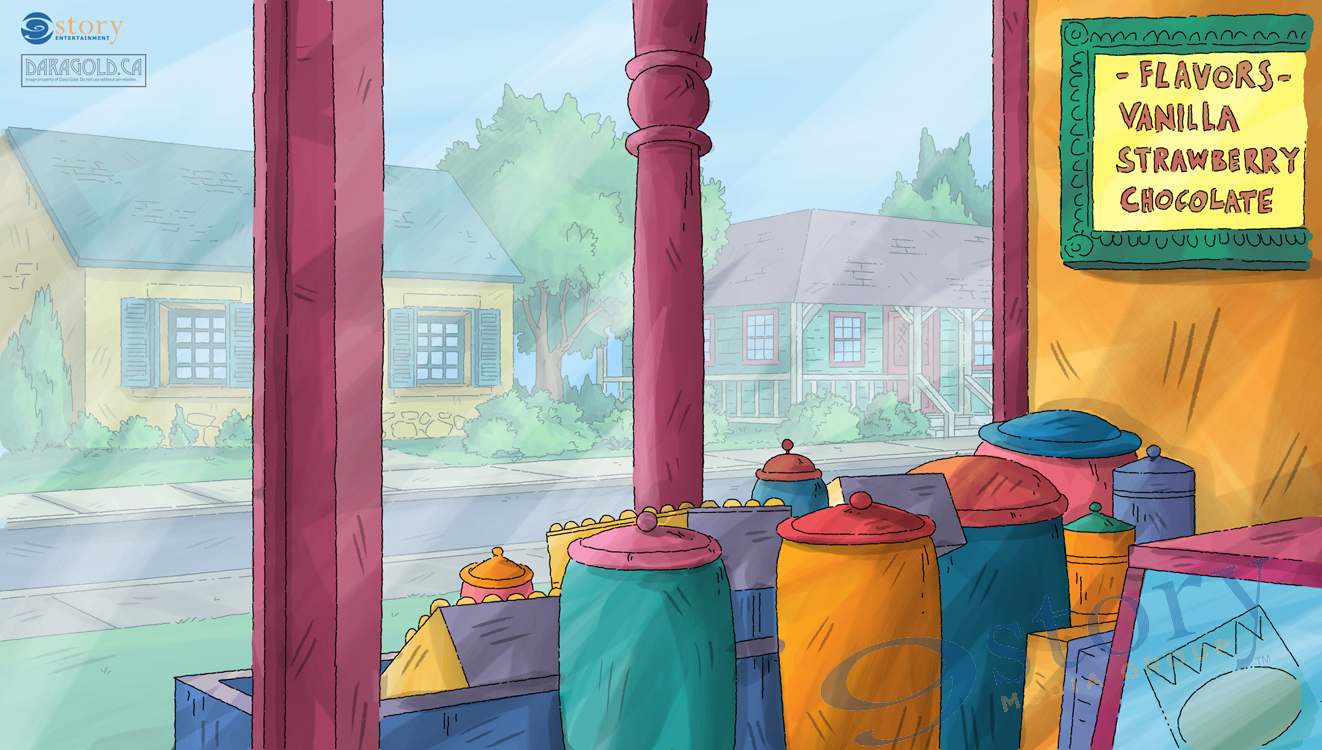
The painting I’m going to walk you through is a shot from the interior of a store looking out onto the street. The characters are seen through the window. To make this work the interior (overlay) is painted first. Once complete both the interior and exterior backgrounds (underlay) are kept as separate layers within the animation program so that the characters can be animated in between them. Think of the layers like a sandwich. The overlay is the top piece of bread, the animation is the yummy filling and the underlay is the bottom piece of of the sandwich.
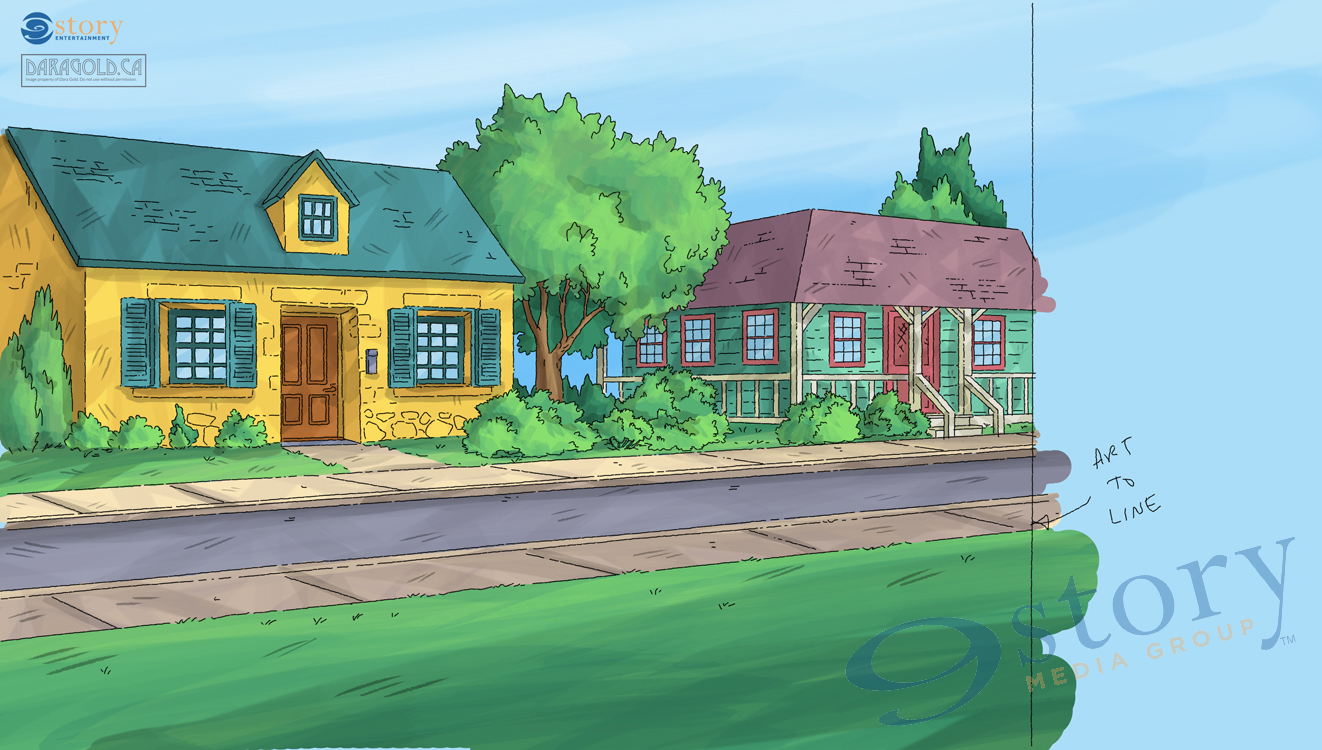
Every background starts with the line art from the layout department.

The first step for the painter is to block in the base colours. For this background I was tasked with matching an existing background from an older hand-painted season. I picked the colours from the existing painting to match it as closely as possible. The blocking stage is also when you clearly define areas of light and shadow. I chose the outside to be the source of light. I also made sure to keep the paint for the window pane set at a low opacity so that the characters and underlay could be seen through it. This will become evident in the later stages of the painting.
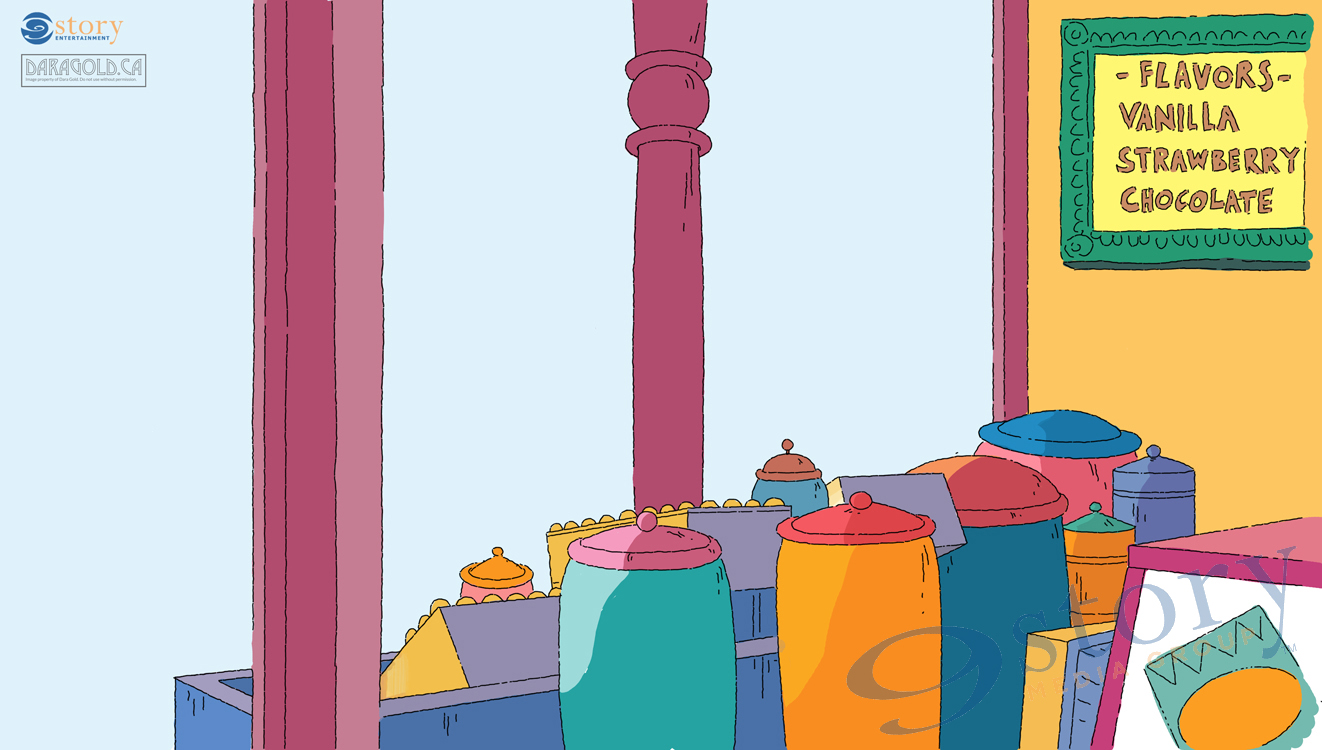
Once the base colours are added it’s time to start texturing. All of the flat colours get painted over with a combination of digitally created water colour brushes. I like to pick a slightly lighter and darker tone of each colour and brush them over the top of the flat paint. To make the image feel like water colours it was important to emphasize the light tones on every colour. On Arthur this was often achieved with lots of layering, leaving triangle shapes of the base colour showing through. This replicates how the tone of the paper adds highlights and softness in hand painted watercolours.
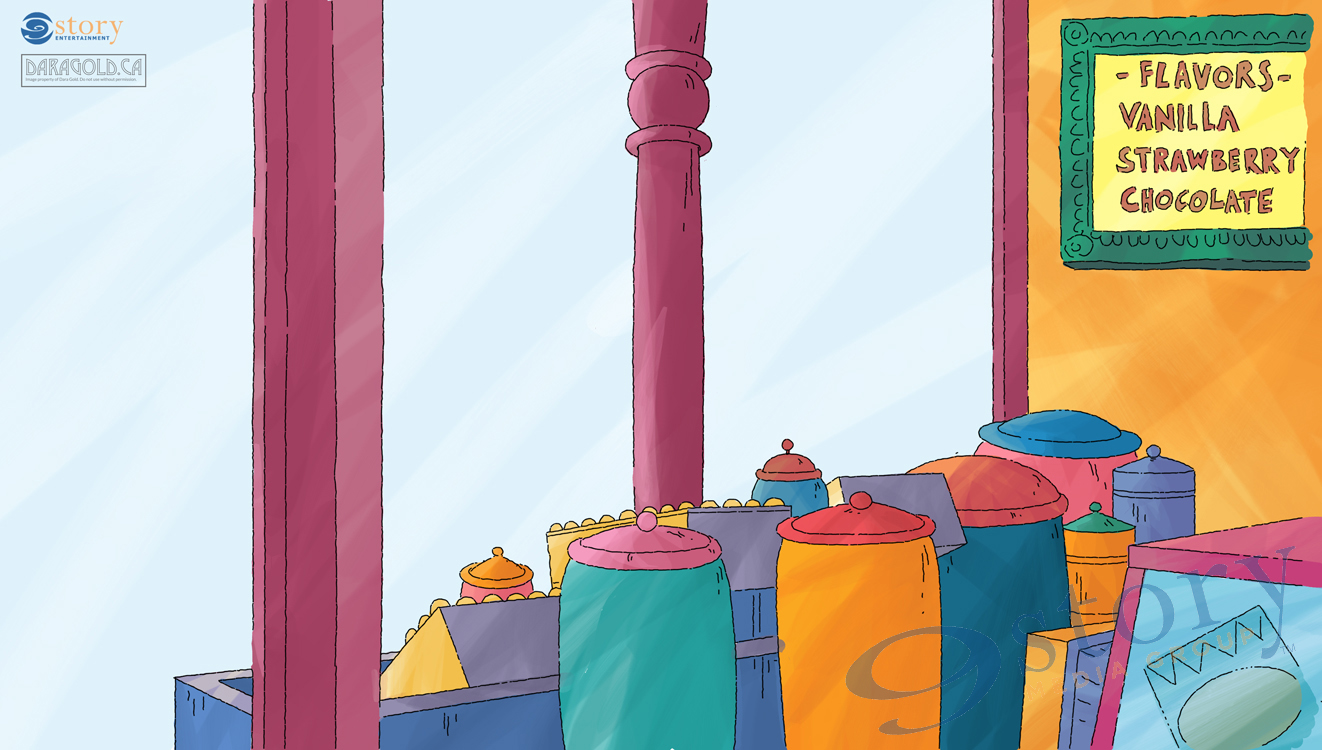
The final step is adding shadow and conté lines. I love this part of the painting process because the whole image really starts to come to life! This is achieved by adding in the cast shadows on all the surfaces, and really emphasizing those triangles of light. The final signature Arthur touch is adding the conté crayon all over the image. The conté colour is created on a separate layer on top of all the paint. I used black set at a low opacity so that it would stand out and pick up the tones of the painting underneath.
Here’s what the painting looks like without the layout drawing imposed on top. Hiding the drawing is a great way to check and see that the lights and darks are fully realized. The painting shouldn’t look flat without the line work.

And now for the underlay! Same as before it starts with the layout drawing.
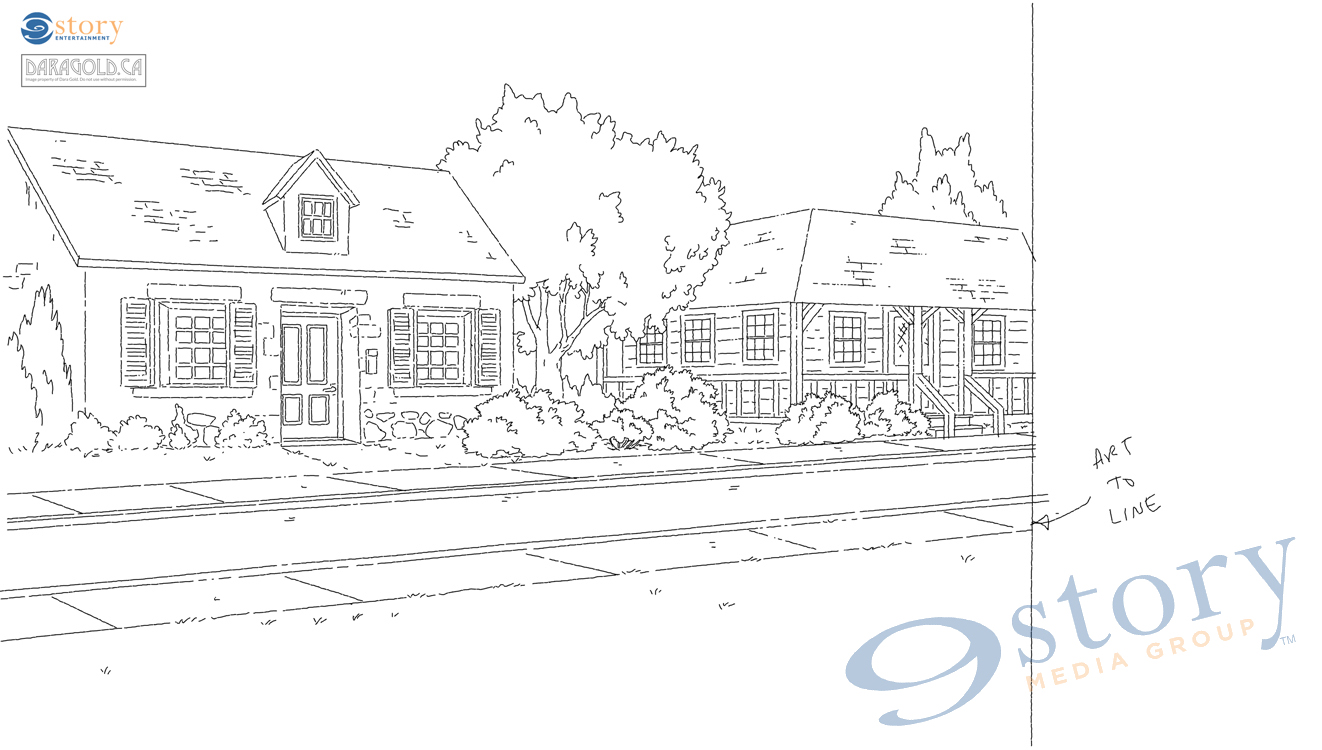
Then the colours are blocked in, paying close attention to areas of light and dark.
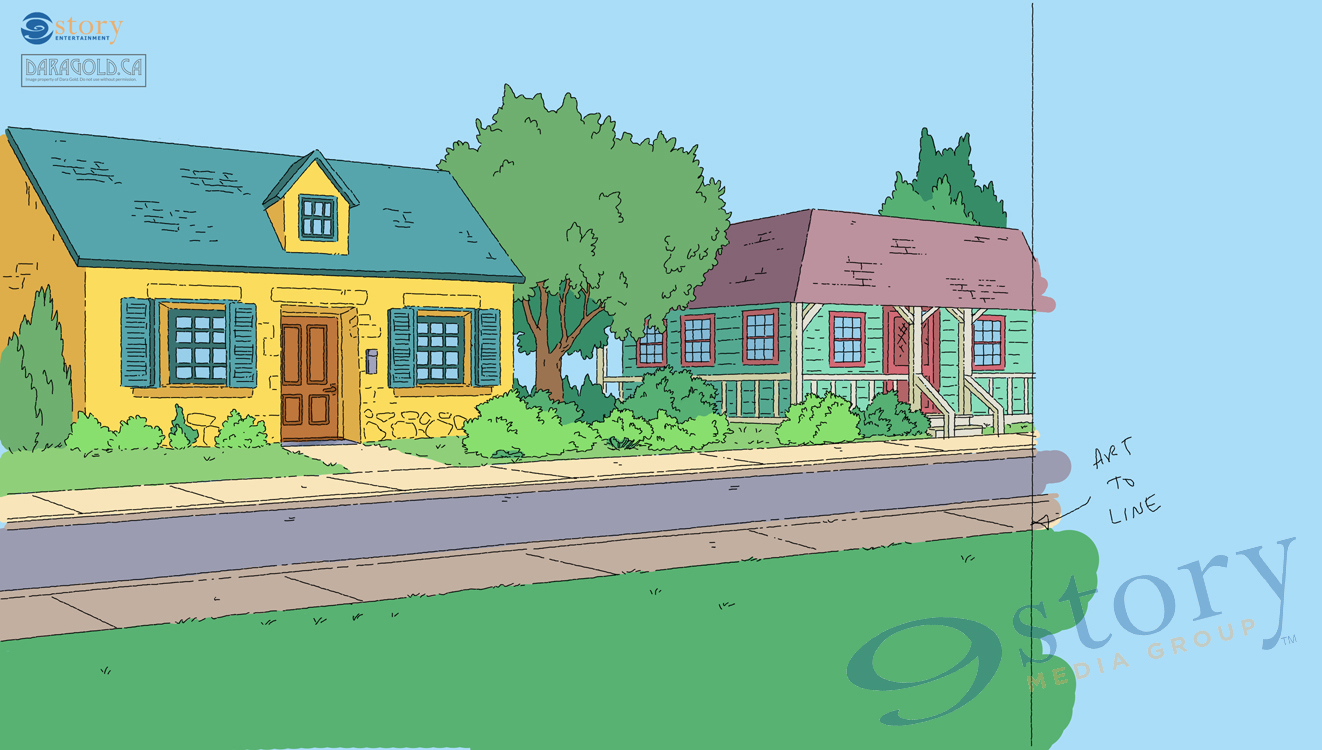
Texture texture texture! Build up the layers with multiple shades of the base colour and leave triangles EVERYWHERE.
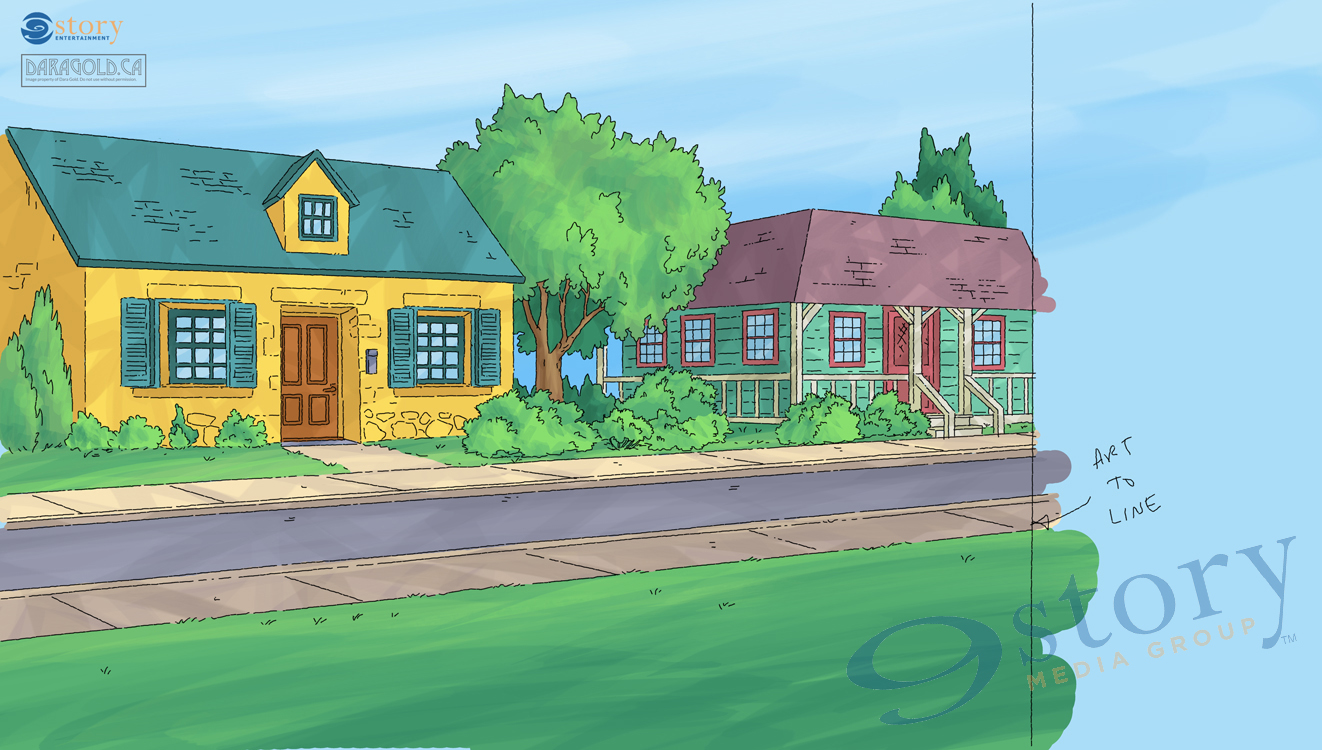
The best part – shadows and conté lines!
Once last check to make sure the painting looks good without the line work.
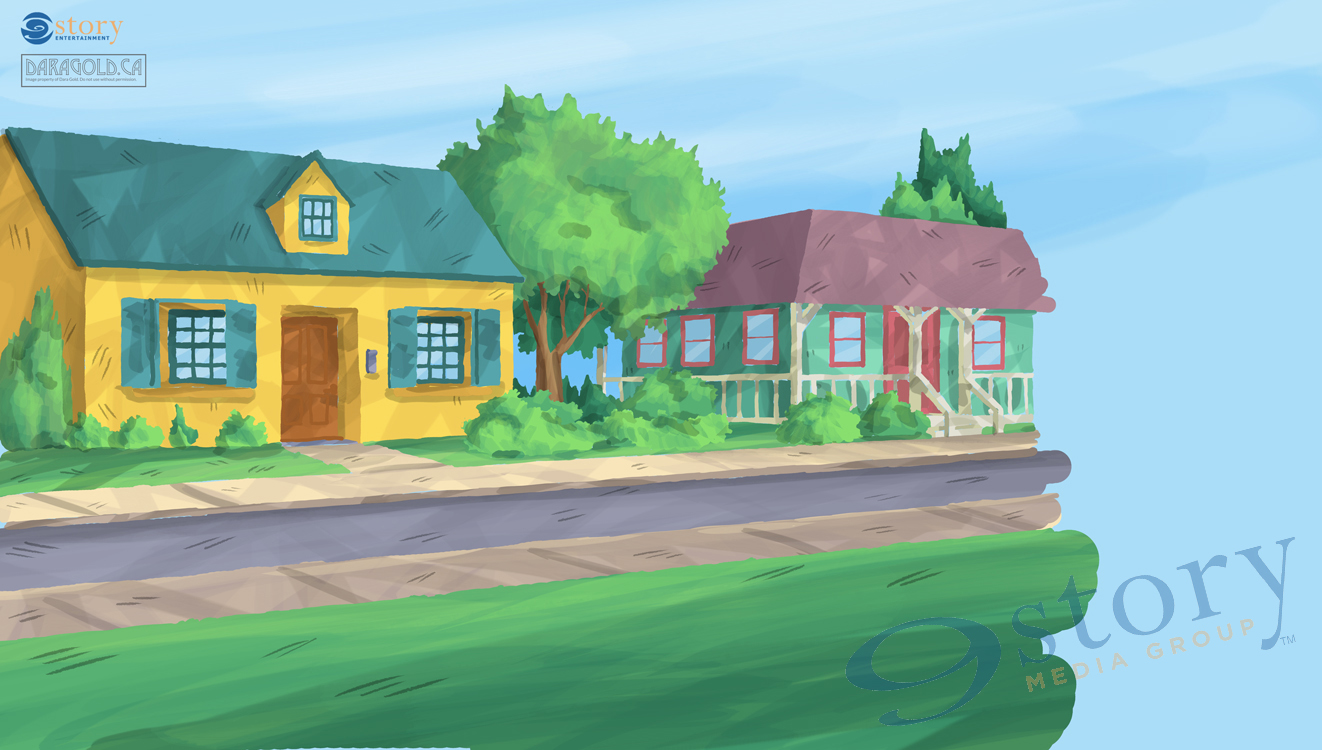
And finally we can see the complete image, with the overlay (and lower opacity windows) on top of the underlay. The painting is now ready to send off to the animators.
I hope you enjoyed that little foray into backgrounds! I hope to share some more step by step posts in the future.
Until then you can keep up with me on Facebook and Twitter. I also have an online shop where you can find art prints and mugs oh my!
Until next time,
Dara
